Removing a tree stump can be quite a challenging task, especially if the right techniques are not used. If you don’t handle tree stump removal properly, it can become a much larger project than anticipated. In this post, we will explore the steps to effectively remove large tree stumps, allowing you to create beautiful green spaces for gardening and construction, all while enhancing your landscape. Let’s explore the various methods available, including manual, chemical, and mechanical options. This guide will assist you in determining the most suitable method for your specific situation.
Understanding Tree Stumps
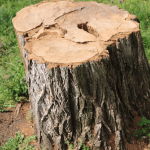
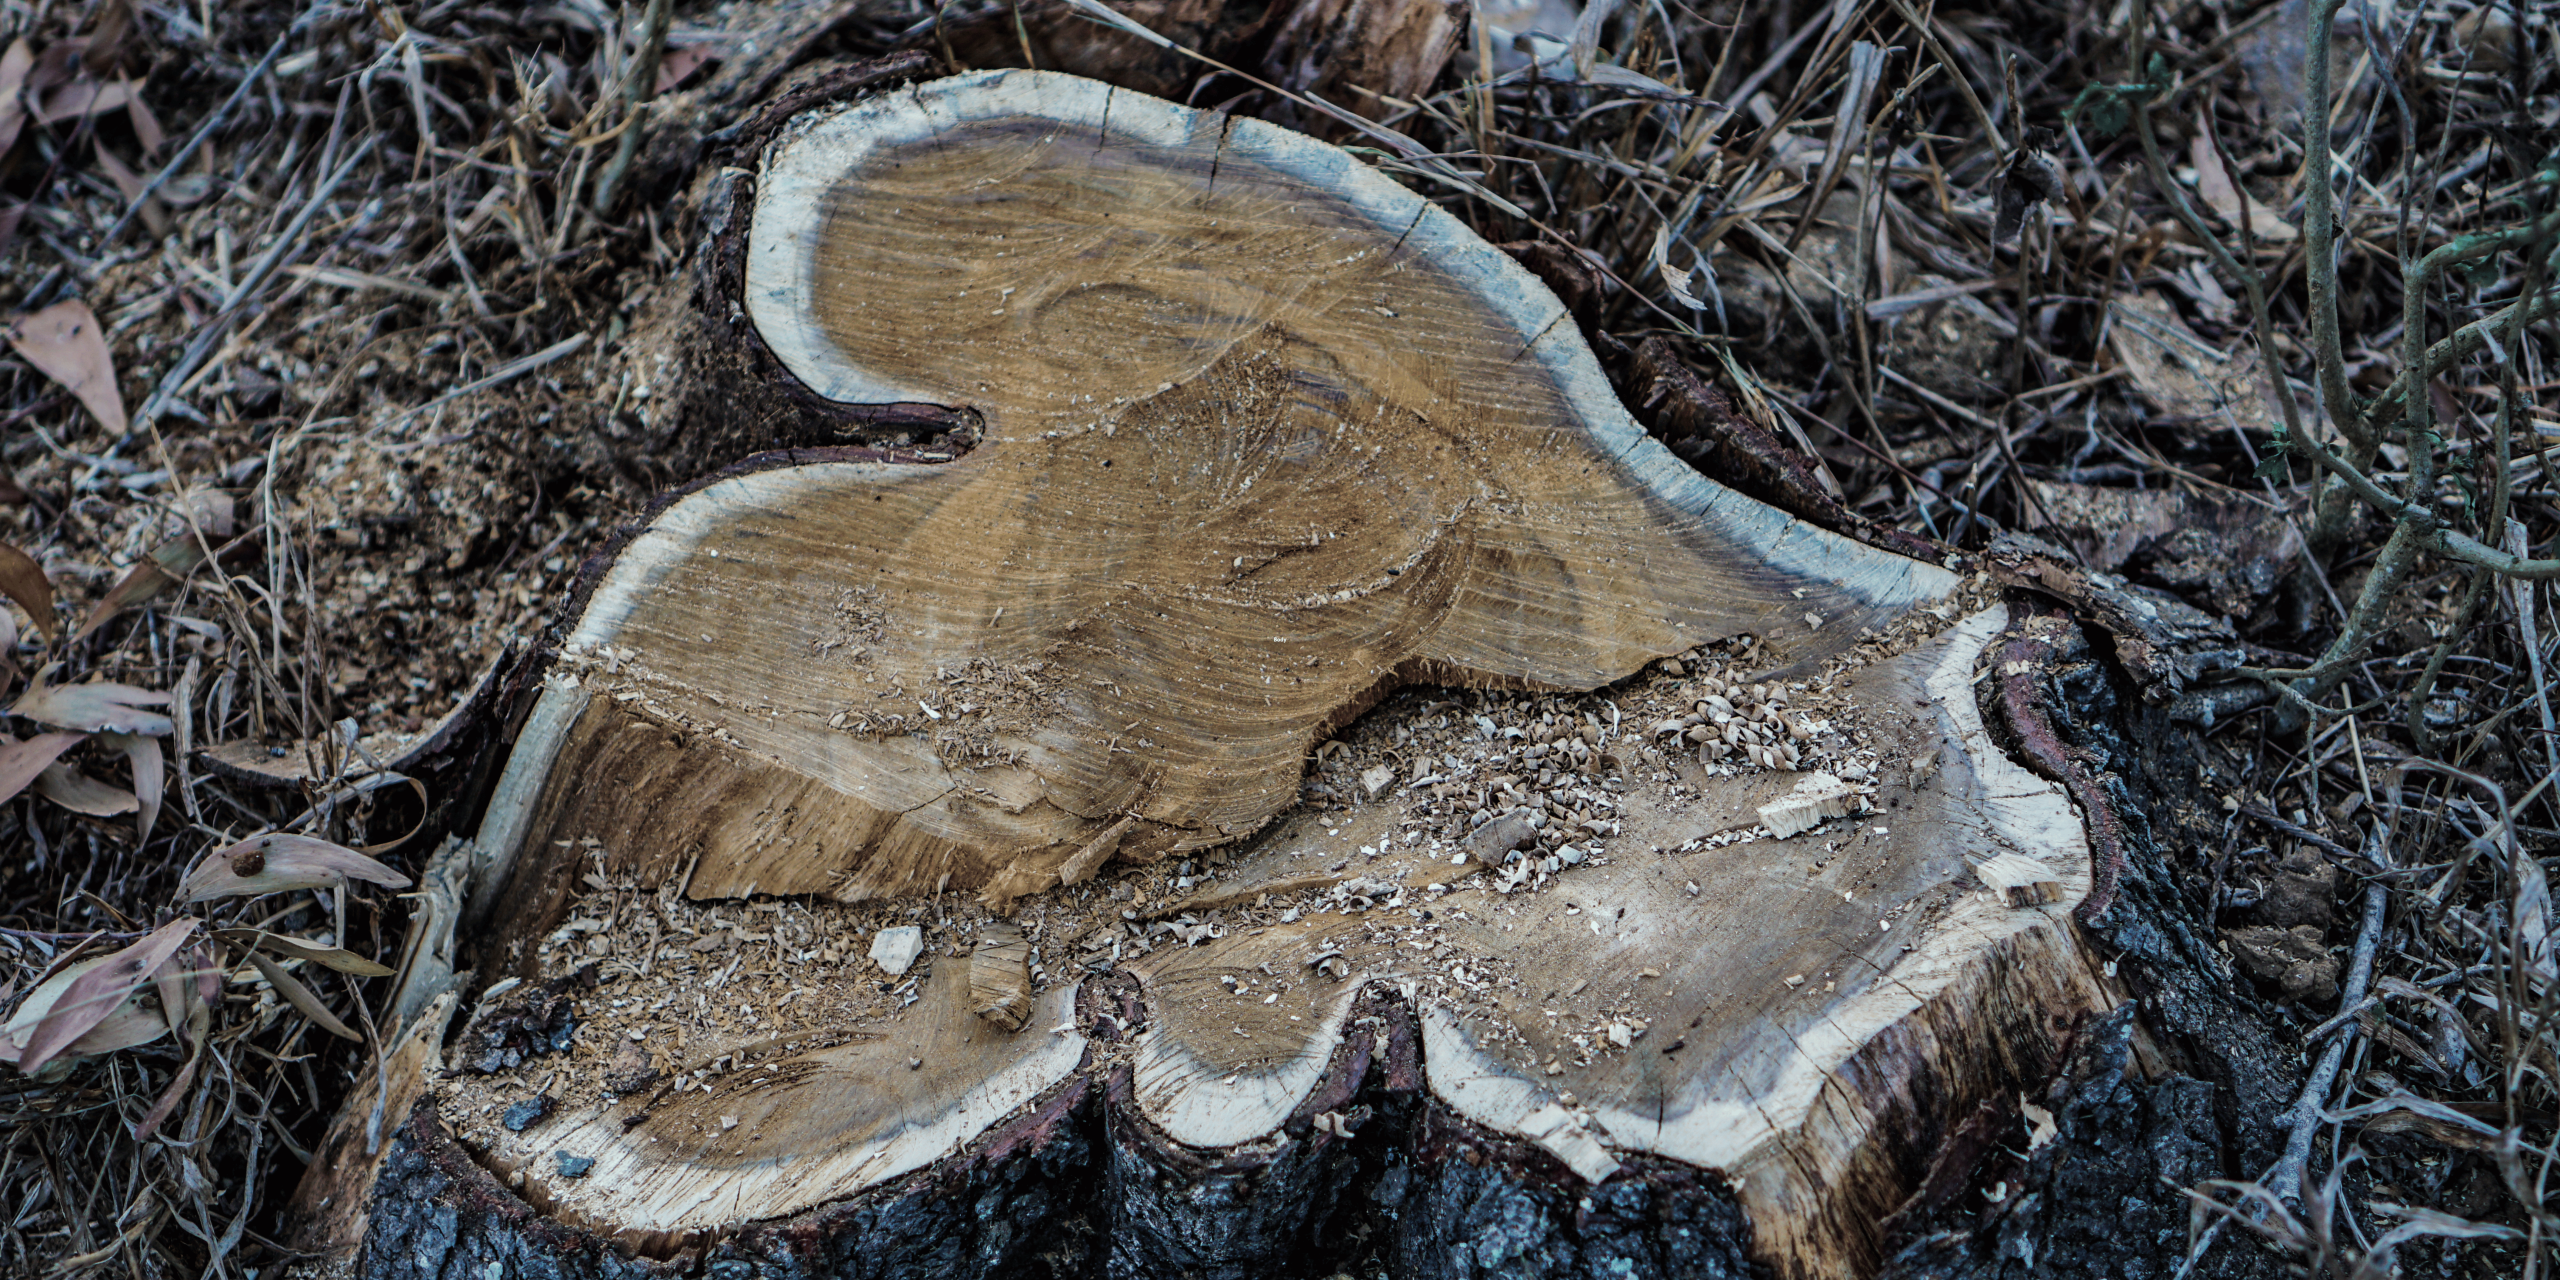
First and foremost, it’s essential to identify what you want to eliminate right from the start. A tree stump is essentially what remains after a tree has been cut down, encompassing the trunk and roots that are left behind. Stumps come in various sizes; some can be several inches thick, making them quite challenging to remove.
Why Remove Tree Stumps?
There are various factors why it would be best for you to get rid of a tree stump:
Risk: Hazards, such as tripping over stumps, are common especially with children and pets.
Pest Infestation: Termites and other pests are known to be attracted to stumps, and can cause damage to the surrounding structures.
Utility: A stump can be a nuisance to the nearby flowers, lawns, or designed structures making the area completely unuseful.
Shaping: Neglecting to eliminate those stumps can result in portions of them sprouting into new trees, or even multiple trees emerging in a specific area, ultimately creating an undesired forest.
Manual Removal: The Traditional Approach
This is done with the use of rather simple instruments, yet it requires some hard work.
Tools and Materials Needed
Shovel or Mattock: Used for digging around the stump
Club: For chopping the stump and roots
Lever or pry bar: Used to create a gap to pull the stump out of the ground
Safety Gear: Gloves, goggles, and sturdy boots for protection
Steps for Manual Removal
1. Dig Around the Stump:
The main way to prevent sprouting is to begin digging approximately one to two feet away from the stump and continue digging around the edges, using a shovel or a mattock. It is advisable to prune off as much of the soil around it as possible to expose the roots. This will facilitate the removal of the roots later.
2. Chop the Stump:
Start chopping the stump into smaller portions that will be easy to handle, using a sledgehammer or an axe. Ensure that, at the center, an opening is made so that there is ease in handling the roots.
3. Cut the Roots:
To tackle larger roots, consider using a larger axe head after cutting firewood into shorter lengths. This approach will enhance your efficiency in handling bigger tasks. If you’re comfortable with it, you might even consider using a chainsaw. It’s important to trim off as much of the remaining root system as you can.
4. Lift and Remove the Stump:
Place a lever or a pry bar beneath the stump and then lift with the help of this bar to remove it from the ground. Shovels may be required to root out the remaining portions of the roots.
Chemical solutions are also an efficient method of disintegration of a tree stump without having to wield any tools. This method entails treating the wood with chemicals to expedite the decay over a few weeks or even months.
5. Fill the Hole:
Next, refill the hollowed area with the removed soil or compost to make the area level in order to use it for planting.
Chemical Stump Removal
Tools and Materials Needed
Chisel or Woody Plant: For chiseling or cutting of the stump for the creation of holes
Potassium Nitrate: Used to enhance and speed up the process of decomposition
Water: For the purpose of washing or rinsing the material with the chemical solution
Personal Protective Equipment: Depending on the chemical used in the experiments, gloves, goggles, and a face mask must be worn.
Steps for Chemical Removal
1. Prepare the Stump:
Using a stump grinder or drill bit should facilitate the making of several holes on the stump top. These holes should be of uniform in size and should be drilled properly so that the chemical solution gains depth at the desired portion of the wood.
2. Apply the Chemical:
Dissolve potassium nitrate in water in the proportions recommended by the producer. In this case, the solution should be poured into the holes that you made earlier in the stump. It is recommended to do this every few weeks to ensure that there is constant decomposition.
3. Monitor Progress:
In due time, the stump will start decaying, becoming soft and easier to deal with. It may take several weeks to several months to remove the stump completely depending on the size of the stump and other conditions of the environment.
4. Remove the Remnants:
Once the stump has decayed to a considerable level, dig the remaining chucks using a shovel and refill the hole with soil or organic manure.
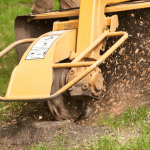
Mechanical Removal: Using Power Tools
Specifically for large stumps or where it is impossible to pull with hands, such as in narrow or congested environments, stump pulling using mechanical tools will help in removing the stumps much faster.
Tools and Equipment Needed
Stump Grinder: A machine that is used in cutting wood stumps into chips
Backhoe or Mini Excavator: Used when there are large stumps which will need to be dug out
Safety Gear: Protective clothing, goggles, and ear protection
Steps for Mechanical Removal
1. Rent Equipment:
If you do not own the equipment for removing the stump, you may consider renting it, using a stump grinder, backhoe, or mini excavator.
2. Grind the Stump:
Always position the stump grinder over the stump in order to get through under the level of the ground as much as possible.
3. Dig Out the Roots:
According to the size of the trees, and the work done, if the stump grinder is left with roots, then it is recommended that they be pulled out by a backhoe or an excavator, as long as it does not interfere with plants nearby or any structures in the vicinity.
4. Fill the Hole:
In many cases, once you have pulled out the stump and roots, you should fill the hole with soil or compost so that the land can be restored.