Eliminating small tree stumps can be quite challenging, but the following guide provides tips and methods that can help you do the job successfully. If you want to find how to quickly and effectively deal with one or several tree stumps in your yard or garden, this guide will explain several techniques to help you achieve that.
Understanding Tree Stump Removal
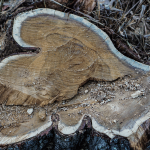
Tree stump removal is the process of getting rid of the tree’s roots after it has been cut down. This procedure can be lengthy and time consuming, but it may be most important for individuals who care more about aesthetics.
Benefits of Removing Tree Stumps
1. Aesthetic Improvement: It is more visually appealing to have a yard that has no stumps.
2. Safety: The stumps themselves may be tripping hazards and may attract pests.
3. Lawn Health: Stumps are obstructions on the lawn and can affect growth of grass in that area.
Preparing for Stump Removal
Gather all tools and materials before starting the actual process of removal.
Here’s what you’ll need:
Tools and Materials
– Shovel or mattock
– Drill or hammer
– Chainsaw or handsaw
– Grubbing tool or pickaxe
– Loppers or pruning saw
– Chemical stump remover (optional)
– Safety gear (gloves, goggles, ear protection)
Planning Your Approach
1. Survey the Stump: Plan for the method of removal depending on the size of the stump and its location.
2. Consult Guidelines of the State: Stump removal may be a regulated activity depending on your state’s laws. You may need to consider permits needed for removal of trees and their stumps.
3. Assess Safety Risks: Failure to conduct tests to identify any underground utilities that may be within the removal path can be dangerous.
Methods for Removing Small Tree Stumps
There are various ways you can eliminate small tree stumps. Choose the one that is more suitable to your expertise, instruments, and time available.
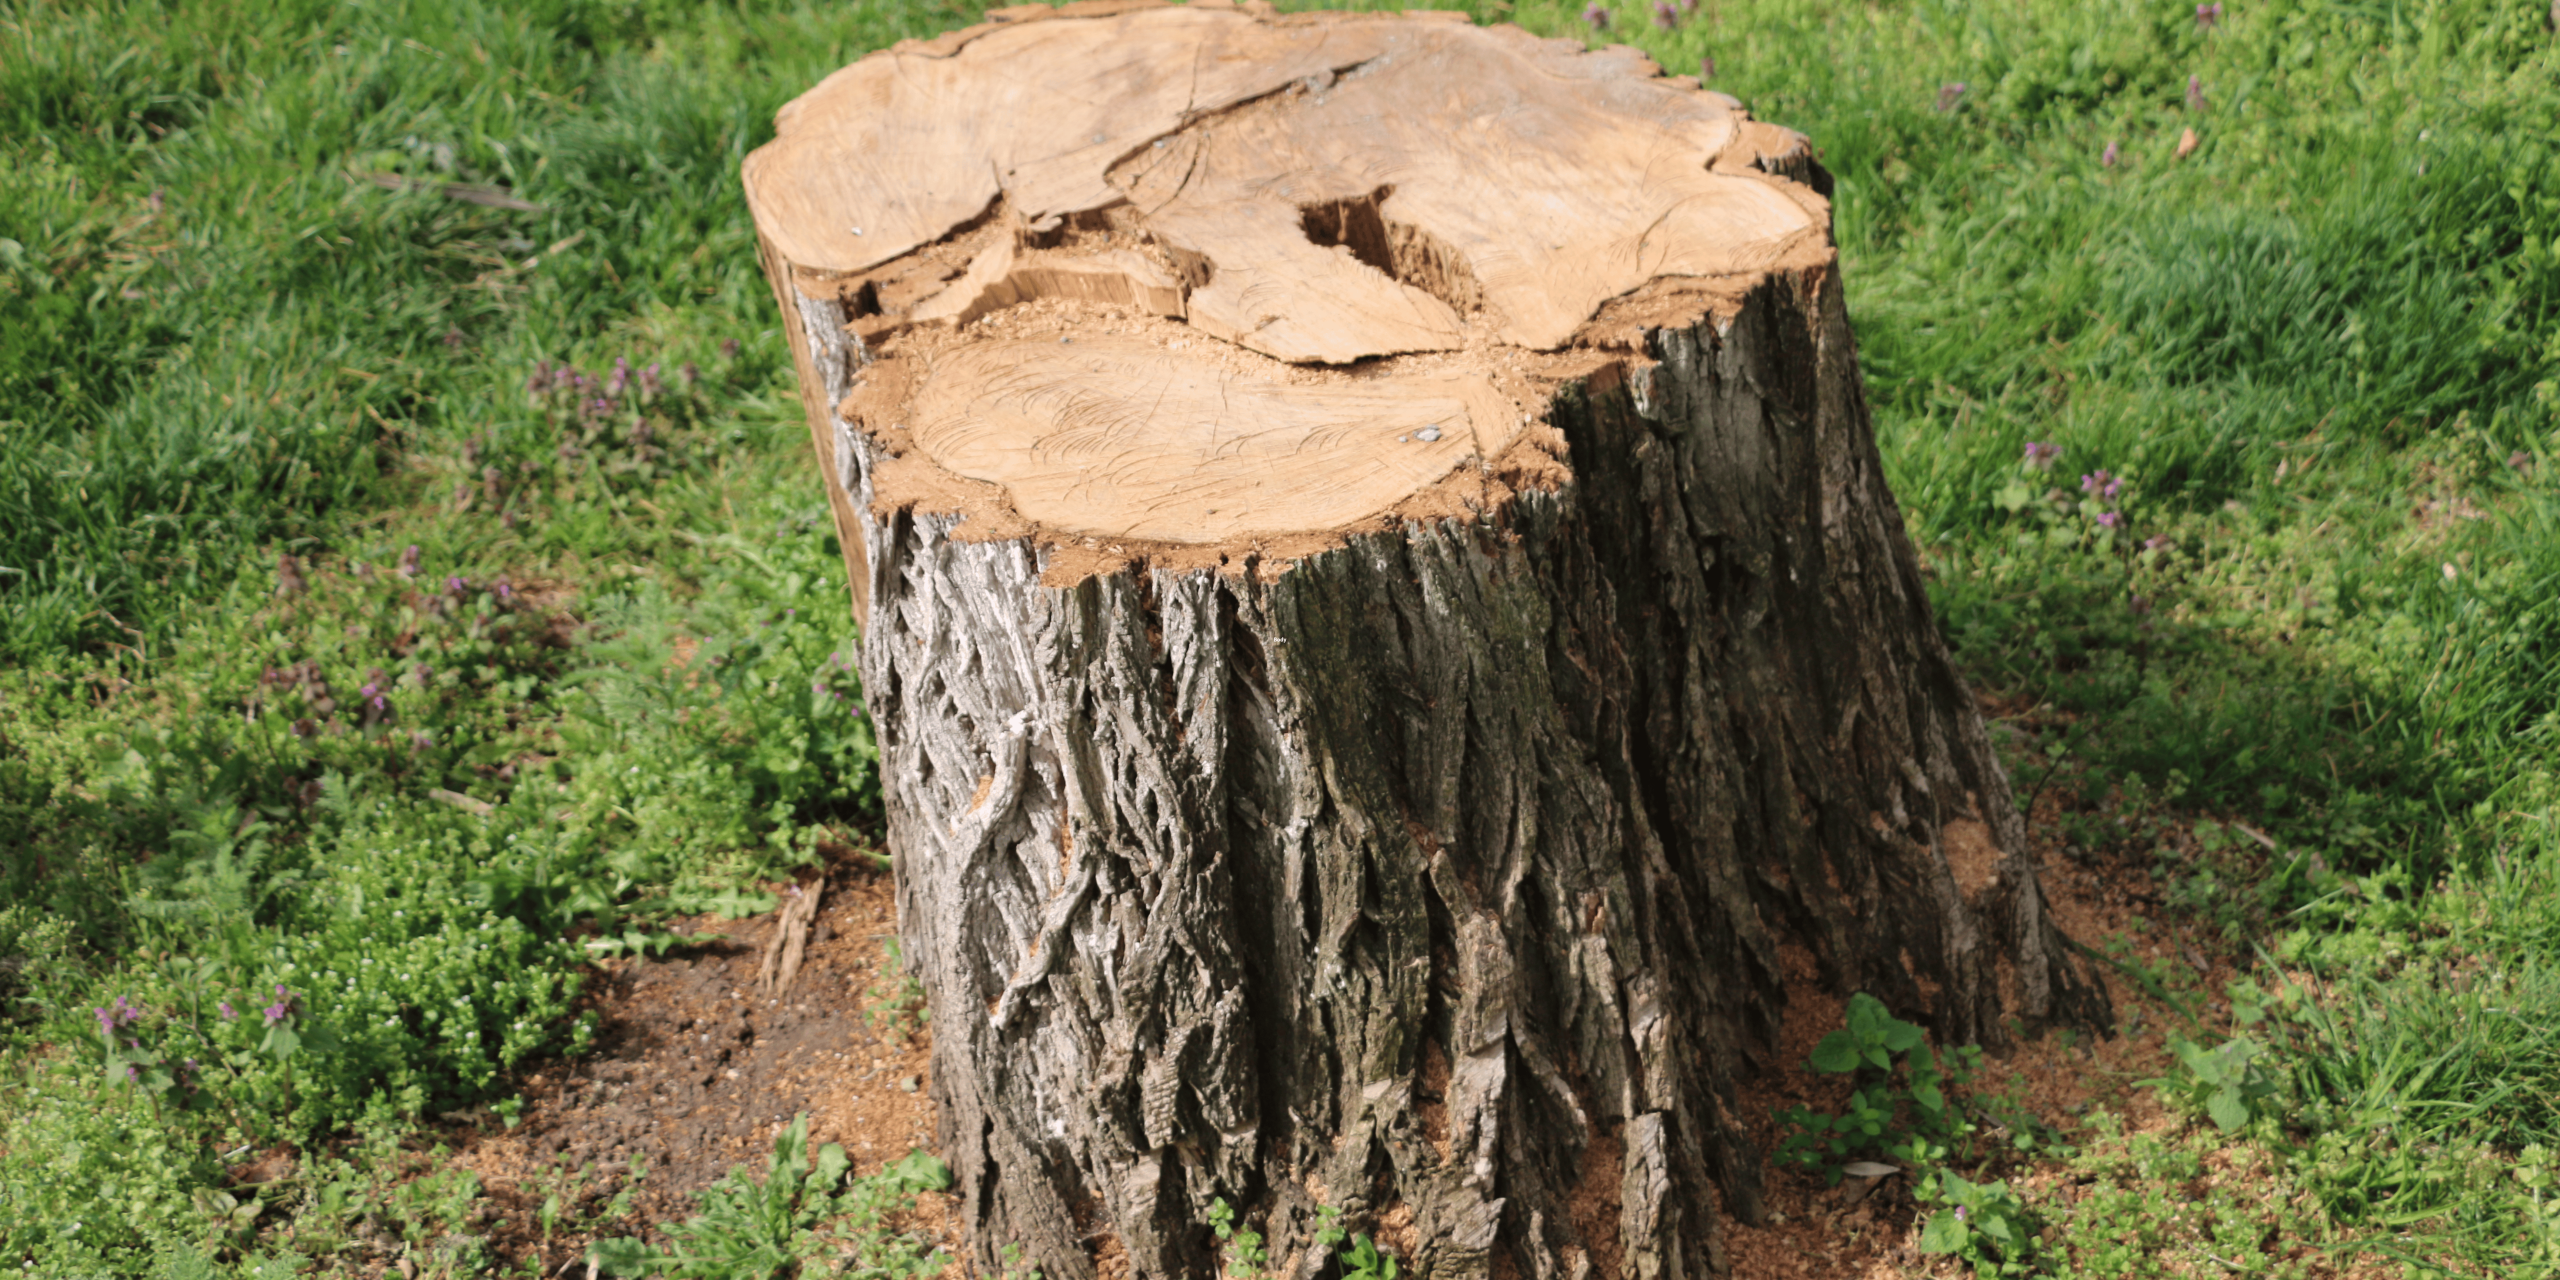
Digging Out the Stump
Step-by-Step Guide
1. Get it Ready: Cut all the grass, weeds, or vegetation around the stump by using a shovel or mattock.
2. Trimming the Stump: Dig around the stump to expose the roots.
3. Trim the Roots: By using a saw, cut through the roots that are visible.
4. Lever Out the Stump: You will need a pivot, which can be a simple log, and a lever, which can be a crowbar.
5. Extract the Last Roots: Now, using the grubbing tool or the pickaxe, extract the roots that remain in the stumps.
Pros and Cons
Advantages: Good for stumps that are close to the surface; no chemicals needed.
Cons: Demands physical strength and use of muscles and body strength.
Chemical Removal
Step-by-Step Guide
1. Tear Down the Stump: Saw down the stump with a chainsaw or handsaw as much as possible to achieve the required height.
2. Borehole via Drilling: Drill several holes into the top of the stump.
3. Apply Chemical: Put chemical stump remover into the holes according to the user manual directions provided by the manufacturer.
4. Use Plastic: Use a piece of plastic and cover the stump in order to enhance the process of decomposition and to keep the stump moist.
5. Wait: The stump is left to rot for weeks or even a few months before it decays.
Pros and Cons
Pros: Little physical strain; may work if the practitioner has enough time.
Cons: Time consuming; it may take weeks. Also, keep in mind that chemicals may have an impact on other plants.
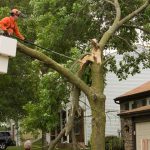
Burning the Stump
Step-by-Step Guide
1. Assess Environment: Employing precise treatment to the stump requires the elimination of all other flammable materials around it.
2. Clear the Area: Cut the tree down so that there is less than 6 inches of the trunk above the ground.
3. Remove the Branches: Cut down the branches to the ground and clear a space of about 2 cm from the stump.
4. Pour Fuel: This involves filling the hole with fuel such as kerosene and embers of wood.
5. Light a Fire: Cautiously add fire to it. Stay out of the range of the fire and monitor the fire for safety.
6. Clear the Ashes: After the stump has been burnt, clear the ashes and attempt to fill the hole.
Pros and Cons
Advantages: Fast and efficient for dry wood, and scraps are minimized.
Cons: Requires a permit; risk of uncontrolled fire; potential smoke nuisance.
Post-Removal Considerations
Here are some measures you need to follow after the stump is removed:
Soil Restoration
1. Cleaning: After the process, there should be no traces of wood or roots in or on the ground.
2. Compaction: Larger holes should be filled with soil, then compacted.
Landscape and Aesthetics
1. Recover the Lawn: Repair the lawn by sowing grass or any plant back to the area.
2. Aesthetic Purposes: Use mulch or plant flowers to make the area more attractive.
Ongoing Maintenance
Ensure new grass grows healthy and competently, and check for any remaining root problems at the area.